
In the contemporary digital landscape, the automated transmission of emails has become an integral aspect of web application development. Be it for dispatching notifications, distributing newsletters, or executing password resets, the integration of email functionality into Node.js applications holds significant importance. Thankfully, Node.js provides Nodemailer, an efficient library that enhances the email-sending experience. This tutorial investigates how to utilize Nodemailer to effortlessly dispatch emails from your Node.js application.
Prerequisites for Nodemailer
Before delving into Nodemailer utilization, ensure the following prerequisites are fulfilled:
- Confirm the correct installation and configuration of js and npm on your system.
- Possess foundational knowledge in JavaScript and Node.js.
Setting Up the Node.js Application
Begin by establishing a rudimentary Node.js application. Navigate to your project directory and adhere to the following steps:
Create a new directory for your project
mkdir nodemailer-demo
cd nodemailer-demo
Initialize a fresh Node.js project
npm init -y
Initialize a fresh Node.js project
Procure the requisite dependencies by executing the following commands:
-
Install Express
Express, a swift, adaptable, and lightweight web framework tailored for Node.js, furnishes a comprehensive toolkit for erecting web applications and APIs. It encompasses functionalities like routing, middleware integration, and support for template engines. In our context, Express is employed to establish the server, delineate routes, and handle HTTP requests.
To install Express, execute the following command:
npm install express
-
Install Body-parser
Body-parser, a middleware for Express.js, extracts the entire body segment of an incoming request stream, thereby exposing it on req.body. This middleware facilitates the parsing of incoming request bodies before they reach designated handlers, rendering them accessible via the req.body property. Body-parser is instrumental in parsing form data dispatched via POST requests.
To install Body-parser, utilize the ensuing command:
npm install body-parser
-
Install Nodemailer

Nodemailer, a dedicated Node.js module, streamlines the process of sending emails within applications. It furnishes a user-friendly API for dispatching emails employing diverse email services and protocols. Nodemailer is instrumental in sending dynamic emails from Node.js applications.
To integrate Nodemailer, execute the ensuing command:
npm install nodemailer
Create and Configure app.js
Create a file named app.js within your project directory. This file will serve as the primary entry point for the application. Within app.js, the Express server will be instantiated, routes will be established, and email-sending functionality utilizing Nodemailer will be managed.
The following is an illustrative code snippet for app.js:
app.js
const express = require('express');
const nodemailer = require('nodemailer');
const bodyParser = require('body-parser');

const app = express();

// Middleware to parse form data
app.use(bodyParser.urlencoded({ extended: true }));

// Define transporter object using SMTP transport
const transporter = nodemailer.createTransport({
    service: 'Gmail',
    auth: {
        user: 'your-email@gmail.com',
        pass: 'your-password'
    }
});

// Route to serve the HTML form
app.get('/', (req, res) => {
    res.send(`
        <h2>Send Email</h2>
        <form action="/send-email" method="post">
            <label for="recipient">Recipient Email:</label><br>
            <input type="email" id="recipient" name="recipient" required><br><br>

            <label for="subject">Subject:</label><br>
            <input type="text" id="subject" name="subject" required><br><br>

            <label for="content">Email Content:</label><br>
            <textarea id="content" name="content" rows="4" required></textarea><br><br>

            <button type="submit">Send Email</button>
        </form>
    `);
});

// Route to handle form submission
app.post('/send-email', (req, res) => {
    const { recipient, subject, content } = req.body;

    // Define email content
    const mailOptions = {
        from: 'your-email@gmail.com',
        to: recipient,
        subject: subject,
        html: content
    };

    // Send email
    transporter.sendMail(mailOptions, (error, info) => {
        if (error) {
            console.error('Error occurred:', error.message);
            res.send('Error occurred while sending email.');
        } else {
            console.log('Email sent successfully!');
            res.send('Email sent successfully!');
        }
    });
});

// Start the server
const port = process.env.PORT || 3000;
app.listen(port, () => {
    console.log(`Server is running on port ${port}`);
});
Explanation of app.js Code
Express Setup: Import the Express module and instantiate an Express application.
Middleware: Employ the body-parser middleware to parse form data dispatched via POST requests.
Nodemailer Configuration: Define a transporter object utilizing SMTP transport. Substitute ‘your-email@gmail.com’ and ‘your-password’ with your email credentials. This transporter object facilitates email dispatch.
Routes: Define two routes—one for serving the HTML form (‘/’) and another for handling form submission (‘/send-email’). The HTML form is dispensed upon visiting the root URL, while the form submission route manages the POST request sent upon submission.
Server Initialization: Initiate the Express server and listen on a designated port (3000 by default).
Understanding the `nodemailer.createTransport` Method
The nodemailer.createTransport method is instrumental in crafting a transporter object that specifies the methodology for sending emails. It accepts an options object, delineating the email service, authentication credentials, and additional transport options.
In our scenario, SMTP transport is employed for dispatching emails via a Gmail account. The Gmail service is designated as the service option, while authentication is executed utilizing the username and password associated with the Gmail account. The auth object encompasses the user (email address) and pass (password) properties.
const transporter = nodemailer.createTransport({
    service: 'Gmail',
    auth: {
        user: 'your-email@gmail.com',
        pass: 'your-password'
    }
});
Invocation of nodemailer.createTransport yields a transporter object tailored for dispatching emails via the specified email service and authentication credentials. This transporter object is subsequently employed for sending emails within our application.
Note on Addressing “Invalid Login” Error: Encountering an “Invalid login” error typically implies rejection of login credentials by the email service provider. In such instances, generating an app password for the email account and utilizing it within the nodemailer.createTransport function, instead of the conventional password, usually resolves the authentication conundrum.
Executing the Node.js Application
To execute the app.js file and commence your Node.js application, execute the subsequent command in your terminal:
node app.js
This command triggers the execution of the app.js file via Node.js, launching the Express server and rendering your application accessible at the designated port. Ensure you execute this command within the root directory of your project.
Upon execution, a message indicating the server’s operational status on the specified port, as defined within your app.js file, should manifest. Access your application by visiting http://localhost:3000 through your web browser.
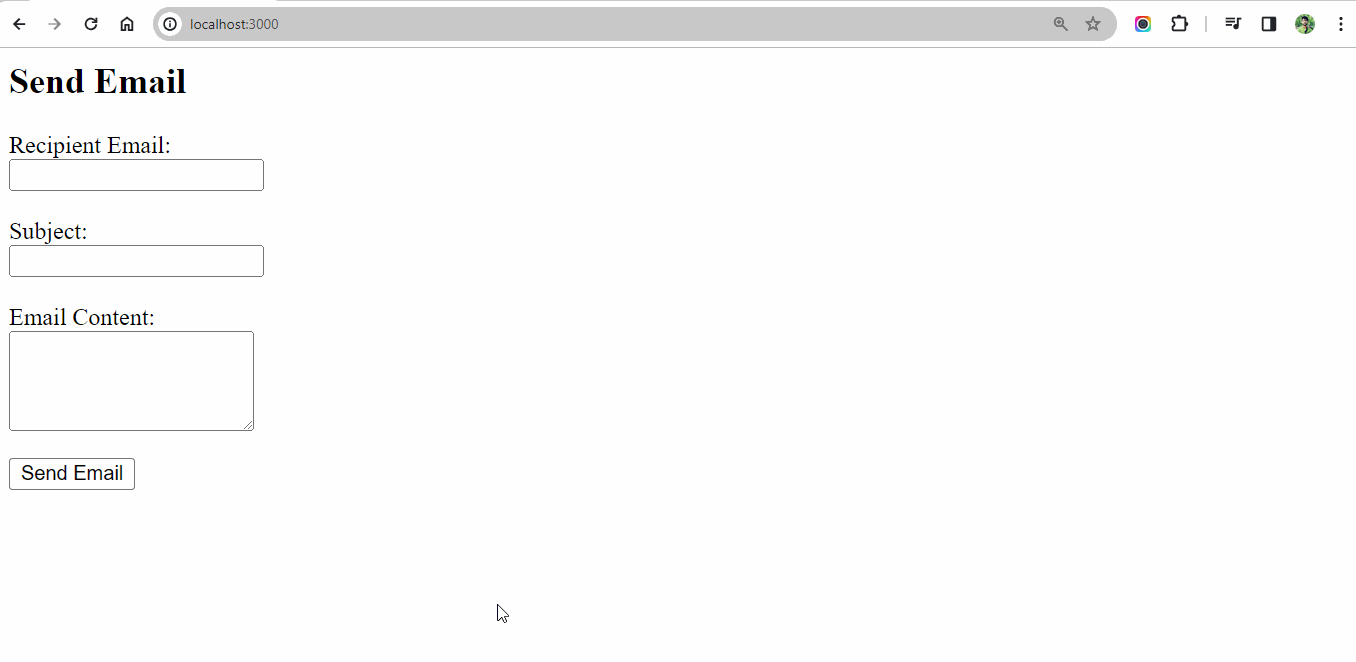
Output
Conclusion
Nodemailer emerges as a potent and adaptable library, streamlining the process of email dispatch from Node.js applications. This guide has expounded on the fundamental steps of Nodemailer setup and email dispatch employing a Gmail account. Nonetheless, Nodemailer boasts support for various email services and proffers various advanced features, encompassing HTML content, attachments, and more. I encourage delving into the official.